Address
Caochang Industrial Area, Liguang Rd, Lishui, Nanhai, Foshan, Guangdong, China
Phone:
0086-20-8938 9313
0086-757-8938 9313
Email:
Work Hours
Monday to Friday: 8AM - 10PM
24x7 online service

Address
Caochang Industrial Area, Liguang Rd, Lishui, Nanhai, Foshan, Guangdong, China
Phone:
0086-20-8938 9313
0086-757-8938 9313
Email:
Work Hours
Monday to Friday: 8AM - 10PM
24x7 online service
Custom LED Light Box & SEG Display Manufacturer
 Byadminn
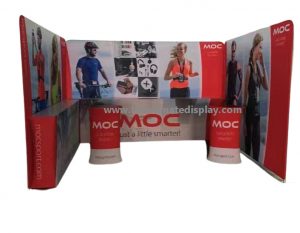
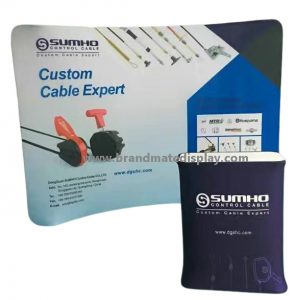
For an exhibition contractor or brand team, a trade show display may be a printed backdrop, modular frame, pop-up wall, counter or a system with optional lighting. Its commercial value depends on the booth fit, clear assembly instructions, protective packing and reliable reuse across events.
Send the booth footprint, wall lengths, maximum permitted height, entrances, counters, storage needs and electrical access. The frame system should be designed around the event layout rather than forcing a standard kit into the space.
Large display walls usually need sectional construction for transport. Buyers should confirm how frame sections connect, whether parts are numbered, which tools are required and how the wiring is routed. A clear installation drawing can save more time on site than a generic “tool-free” claim.
SEG graphics are useful for repeat events because the frame can remain in service while campaign graphics change. Confirm the graphic template, silicone edge specification, print revision and replacement lead time before the first event.
Trade show equipment is handled repeatedly by warehouses, carriers and event crews. Ask how profiles, connectors, power components and graphics are separated and protected. Confirm the number of cases/cartons, packed dimensions and gross weight when freight or on-site handling cost is sensitive.
| Buyer question | Why it matters |
|---|---|
| How many frame sections? | Controls setup sequence and packed length |
| Are components numbered? | Reduces assembly errors on repeat events |
| What tools are required? | Affects crew planning and setup time |
| How are power leads connected? | Affects electrical safety and serviceability |
| How many transport cases? | Affects freight and event drayage |
| Which spare parts are recommended? | Reduces downtime if a component is lost or damaged |
If the system will travel to multiple events, request spare connectors, power components and a replacement-graphic process appropriate to your risk level. Keep the assembly drawing and packing list with the booth assets so each event team receives the same reference.
Include booth size, event date, delivery destination, required display modules, graphic status, power standard, packing preference, quantity and any venue restrictions. For repeated events, also state the expected number of setups and whether spare parts should be included.
Send plan and elevation drawings showing booth width, depth, open sides, storage areas and visitor access. A good backwall can still be the wrong purchase if its feet obstruct the aisle.
Read the exhibitor manual for permitted height, wall fixings, hanging, electrical work, move-in times and local labor rules. Do not equate a tool-free profile with unrestricted self-installation.
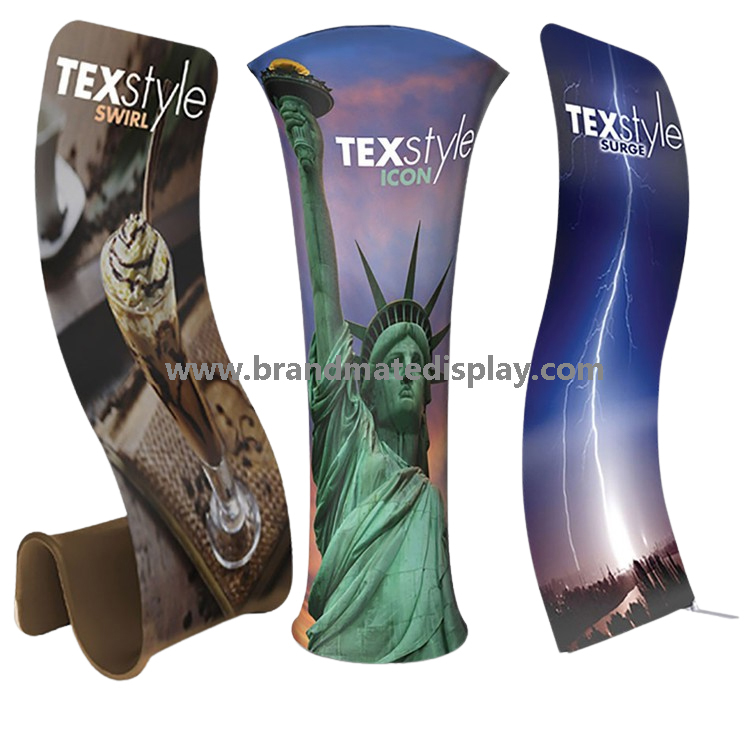
Record frame W×H×D, visible graphic and fabric print template independently. Curved and waveline systems need shape-specific artwork and orientation.
Number straight, curved and corner profiles; keep connectors, feet and fasteners in matching bags. The packing list should match the installation diagram.
Ask for a model-specific assembly guide, estimated crew size and tools, but avoid universal time promises. Document sequence from inventory through frame, graphics, accessories and handover.
Fit fabric according to the approved profile and template, work progressively to control tension and inspect corners or seams. Keep spare graphic instructions where the event uses multiple campaigns.
If lighting is included, confirm driver, plug, voltage, cable routing, service access and who is authorized to connect power at the venue.
These components add loads and extra assembly steps. Confirm structural interface and safe equipment support, rather than assuming all accessories can clip onto any base frame.
Cartons, padded bags, rigid cases and crates serve different handling profiles. Repeated courier shipments may justify more robust cases, but cases also add size and weight.
Record length, width, height, gross weight and number of pieces per case. Exhibit freight and venue material-handling cost are not calculated from installed booth width.
Carrier transportation and venue drayage are different services. Verify advance-warehouse versus direct-to-show receiving, labels, deadlines and outbound shipping.
Identify critical connectors, feet, screws or graphic attachment parts for the quoted system. Track parts by model to reduce rushed last-minute purchases.
Check dimensions, finished surfaces, printed registration, complete assembly, hardware count and protective packing. If the booth includes LED lighting, power-test the configured system.
Repack against the original BOM, inspect damage, dry/clean printed components as recommended and record which parts need replacement before the next exhibition.
Is every trade show frame tool-free? No; accessories and venue work vary. Is drayage included in shipping? Not unless separately contracted and confirmed.
Include booth footprint, shape, number of events, graphic replacements, assembly location, power requirements, case limits, destination, venue dates and required spare parts.
See our Trade Show Display Manufacturer page for product configurations and send your project brief for review.