Address
Caochang Industrial Area, Liguang Rd, Lishui, Nanhai, Foshan, Guangdong, China
Phone:
0086-20-8938 9313
0086-757-8938 9313
Email:
Work Hours
Monday to Friday: 8AM - 10PM
24x7 online service

Address
Caochang Industrial Area, Liguang Rd, Lishui, Nanhai, Foshan, Guangdong, China
Phone:
0086-20-8938 9313
0086-757-8938 9313
Email:
Work Hours
Monday to Friday: 8AM - 10PM
24x7 online service
Custom LED Light Box & SEG Display Manufacturer
 Byadminn
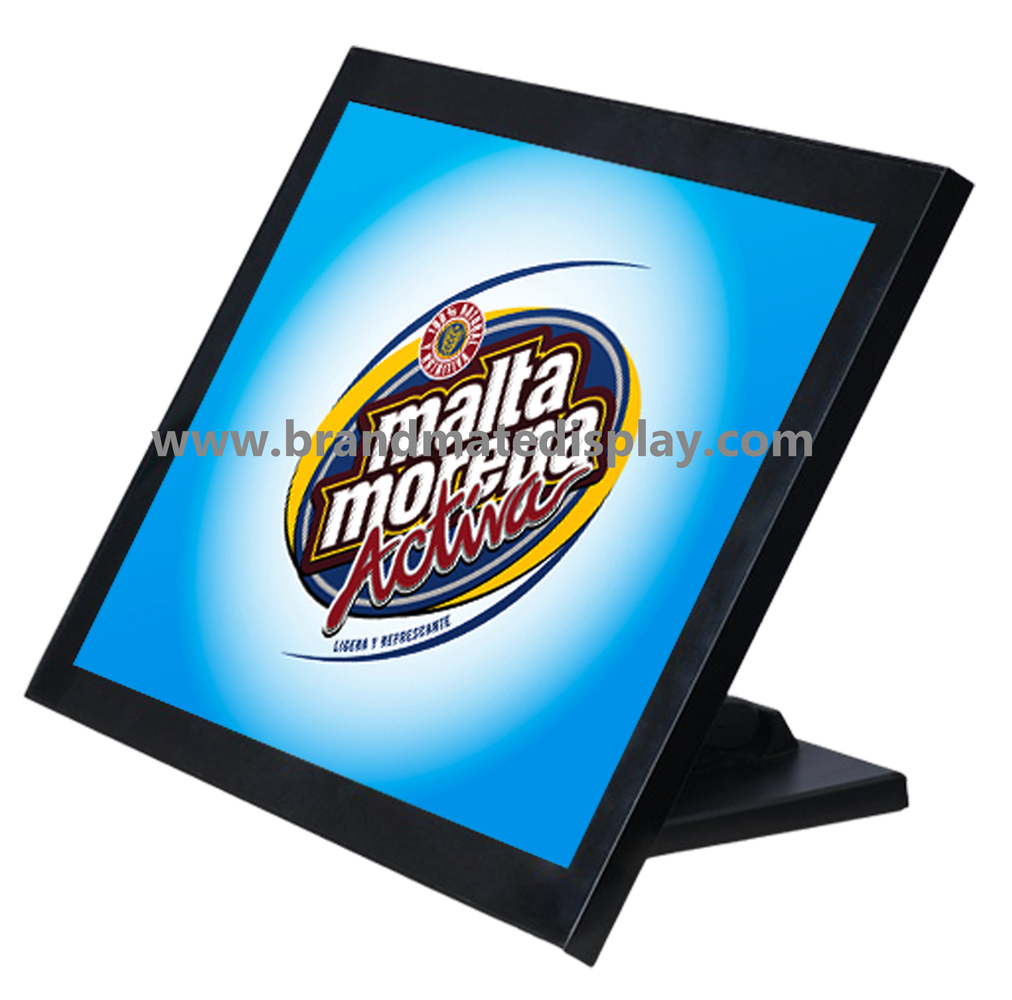
A countertop illuminated menu display is a small product with several expensive failure points: a base that slips, a front cover staff struggle to open, an exposed cable, or a printed menu that does not fit. For café chains, franchise buyers and sign distributors, deciding on the right LED counter display means testing everyday use before buying in volume.
The product discussed here is a small light box that illuminates a printed menu or promotion. It is not an LCD video screen and does not automatically scroll electronic content. Specify that distinction when requesting quotations from several factories.
A café ordering counter, hotel reception, trade-show desk and retail cashpoint have different viewing heights, available depth and contact risks. Describe where the display sits and whether staff or customers can reach it.
Chain procurement controls cost and replacement units; visual merchandising controls menu appearance; store staff control daily access; facilities checks power and cable placement. A good sample review involves each role that will handle the display.
Record the poster insert, visible lit area and outside panel dimensions. Add the base footprint and total assembled depth. A nominal A3 menu alone does not tell the installer how much counter space the unit occupies.
Evaluate stability at the proposed viewing angle, with the correct illuminated panel and cable in place. Ask whether feet have suitable grip and how the base behaves when a customer taps the edge or staff move cleaning equipment nearby.
The best angle depends on average eye level, counter height and ambient reflections. If tilt adjustment is offered, ask for the supported range and test if the mechanism stays in position during normal poster changes.
Selected models may use a magnetic front-access cover or another opening method. Confirm how staff remove the lens, insert the print and reseat the cover. A fast graphic-change claim should be supported by an actual demonstration.
Agree on suitable print thickness and type before approval. Some substrates can curl or sit poorly behind a cover. Reuse the approved template so franchise stores do not improvise with incorrectly trimmed prints.
Check the final printed menu under its LEDs for readable prices, acceptable color and visible hotspots. The supplier should identify lighting layout, relevant electrical load and the test conditions if a brightness level is material to purchasing.
A transparent protective front can reflect bright shop lighting. Test the display in a real or representative environment with the intended viewing angle. If glare is an issue, review a compatible surface or placement change rather than making an unsupported anti-glare claim.
State destination country, outlet location, plug type, cable length and expected operating hours. A cable stretched over the customer service area is both untidy and a possible trip/spill risk.
Confirm frame material, lens surface, base construction and available finishes for the actual model. Inspect scratches, alignment and edge finishing on the pre-production sample. Do not rely on generic “premium aluminum” wording instead of verified specifications.
BrandMate has historically published A3 reference dimensions for a counter unit, but the current revision and optional sizes need confirmation. Custom logos, frame size, print format and packing may be reviewed subject to model capability and quantity.
For daily price changes, test at least several complete remove/insert cycles with the store team. For less frequent campaigns, decorative appearance and easy cleaning may matter more than the fastest opening method.
Keep one approved print template and electrical configuration for each store format. Label units and cartons by store group, language and menu version. Define spare power adapters and replacement fronts when relevant.
Check the exact print and visible areas, base stability, access mechanism, illumination, finish, power, cable route and packed contents. Record a signed approval rather than relying on a single attractive photo.
Inspect frame dimensions, lens condition, magnetic/snap function, base assembly, tilt mechanism where present, power-on, cable/adapter identification, print fit and packaging. Use the agreed acceptance approach for the batch.
Separate hard metal base parts from the illuminated panel to prevent scratches. Protect corners and front surfaces, verify parts lists, and mark cartons according to the receiving franchise or consolidation warehouse.
Compare initial hardware price with print replacement time, component spares, shipping damage risk, electrical servicing and franchise logistics. A slightly costlier unit may be worthwhile if staff can change menus consistently without damage.
| Requirement | Buyer detail |
|---|---|
| Program | Store count, units per store and rollout date |
| Graphic | Poster W×H, visible area, replacement frequency |
| Structure | Overall W×H×D, footprint, angle, finish |
| Electrical | Country, voltage, plug, cable position |
| QC | Sample sign-off and acceptance checks |
| Packing | Carton marks, inserts, shipment destination |
Is an LED counter display a digital menu board? The printed-light-box product covered here is not a video display.
Can the angle be adjusted? Selected constructions may allow adjustment; confirm the current model’s mechanism and range.
Can we change the menu without tools? Confirm by sampling the chosen front-access design and actual print material.
Are bulk custom dimensions available? Ask for engineering review against size, base geometry and project quantity.
Send BrandMate Display your poster size, expected quantity, counter footprint, desired access method, electrical market, artwork and delivery schedule. Ask for the exact model dimensions and an opening/stability demonstration before volume purchasing. See our LED Counter Display and LED Crystal Display ranges.
Reference context: Product distinctions and legacy size examples are drawn from BrandMate’s published product pages; current specifications must be reconfirmed for the quoted model.