Address
Caochang Industrial Area, Liguang Rd, Lishui, Nanhai, Foshan, Guangdong, China
Phone:
0086-20-8938 9313
0086-757-8938 9313
Email:
Work Hours
Monday to Friday: 8AM - 10PM
24x7 online service

Address
Caochang Industrial Area, Liguang Rd, Lishui, Nanhai, Foshan, Guangdong, China
Phone:
0086-20-8938 9313
0086-757-8938 9313
Email:
Work Hours
Monday to Friday: 8AM - 10PM
24x7 online service
Custom LED Light Box & SEG Display Manufacturer
 Byadminn
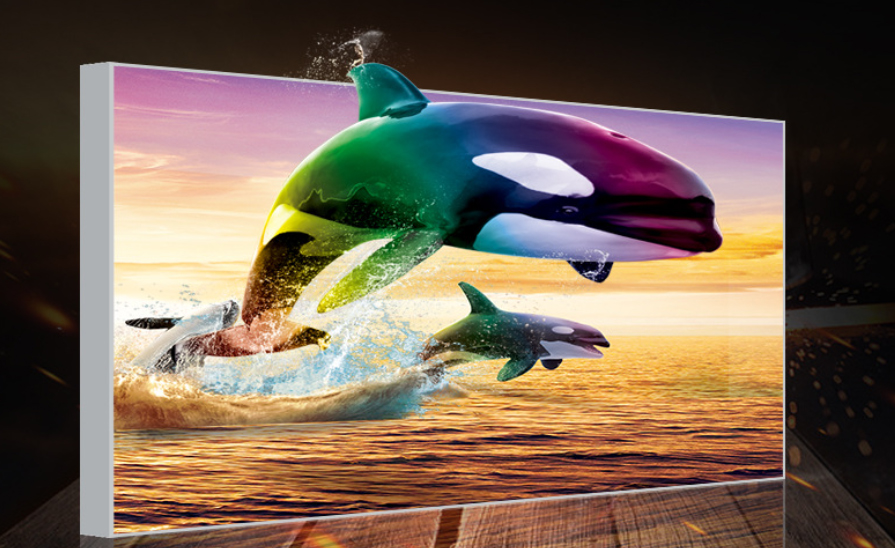
A light box can pass electrical and frame inspection yet fail at installation because the artwork was supplied in the wrong dimensions. This buyer guide explains how print suppliers, display manufacturers and brand teams can agree on files, materials, visible-area templates and illuminated color approval before mass production.
Record external frame size, print/finished graphic size and visible opening. For SEG fabric, the finished sewn size and silicone-edge details form a fourth critical specification. Never scale artwork from the headline product dimension without a manufacturer-approved template.
Brand procurement staff, creative agencies, retail visual-merchandising teams, print service providers, shopfitting contractors and wholesalers ordering replacement graphics. It is especially useful when the frame and graphics come from different suppliers.
Backlit film, rigid translucent panels and printed tension fabric behave differently. The correct format depends on the light box construction and the way staff will replace graphics. Ask the manufacturer which medium was used when lighting uniformity and fitting were approved.
A poster read from one meter needs different typography from an exhibition backdrop viewed across an aisle. Agree on the intended distance and keep important text away from the covered edge of the visible opening.
A proper template should show finished dimensions, visible area, crop/bleed, safe zone, orientation and relevant marks. A generic A1 or A2 canvas alone cannot account for the frame’s perimeter overlap.
Bleed requirements are print- and frame-dependent. Do not use an arbitrary universal number. Agree on a trim edge, expected concealed area and a safe boundary that protects text and logos from the frame opening or sewn edge.
Store the approved design, print-ready file, template revision, campaign code, language and store allocation under consistent names. A single untracked file called ‘final-new-2.pdf’ is a common route to reprints and misallocated cartons.
RGB screen appearance and illuminated printed color are not identical. If the brand uses a Pantone reference, state the intended matching method and acceptable tolerance. Request a material and lighting proof; do not promise automatic exact Pantone equivalence on every substrate.
A translucent print can look substantially different before and after illumination. In a fabric system, coating, fiber, ink, light diffusion and tension influence appearance. Choose proofs that resemble the actual installed system rather than ordinary unlit paper.
Print methods may include UV, solvent or dye sublimation depending on the selected material. The supplier should confirm compatibility, ink adhesion, curing and fabric distortion. Do not assume one process is always best across film, acrylic and textile.
Supply vector logos and high-quality original photography. Specify image resolution at the final physical output size, not only the pixel dimension of a small online mockup. Avoid embedding screenshots of logos or compressed social images as master art.
Provide a print-ready PDF or another agreed production format with embedded or outlined fonts as appropriate. Keep editable source files separately. Check that linked imagery is supplied and that spot colors or transparency render as intended in the chosen print workflow.
Silicone width, stitching position and graphic shrinkage/finishing must match the frame’s channel geometry. Approve a finished fabric template and test-fit a sample before distributing repeat graphics across multiple locations.
For poster-access frames, confirm which edges sit under the opening leaf or magnetic face. Include a finished-size and visible-area diagram so promotional prices and disclaimers do not disappear behind the frame.
Review representative samples both under normal ambient lighting and with the intended LED unit switched on. Photographing a bright graphic with an automatically exposed phone camera is not a controlled acceptance method by itself.
Have the brand or print owner sign off on content, spelling, legal copy, product imagery and language variants. Have the manufacturer sign off on mechanical fit, artwork dimensions and production file suitability. These approvals cover different responsibilities.
Separate clean graphics from metal profiles and fasteners. Label each piece with dimensions, display SKU, design revision, orientation and store or event allocation. Define fold/roll handling based on the actual material.
Keep the original approved graphic template, substrate, production method and revision number available for reorders. When a frame or silicone channel changes, trigger re-approval instead of silently printing from the old file.
Approving only a screen mockup; confusing the visible opening with total print size; choosing material after artwork sign-off; ignoring bleed; supplying low-resolution images; and omitting graphic labels from multi-store cartons.
| Item | Information to supply |
|---|---|
| Display model | SEG / snap / magnetic / acrylic |
| Size | Outside, visible and finished print dimensions |
| Material, print process if required, one/two faces | |
| Artwork | Approved files, color references, version and languages |
| Quantity | Prints per SKU and replacements |
| Delivery | Packing, labels, destination and deadline |
Can the printer use the visible size as print size? Usually not; the frame or silicone edge changes the finishing dimensions.
Do Pantone codes guarantee identical illuminated color? No. The result depends on the material, print process and illumination; agree on proofing.
Can I print replacements without the original frame? Use the approved finished dimensions and compatible finishing specification, and test where product revisions differ.
Send BrandMate Display the actual display model, manufacturer template, finished dimensions, artwork files, material needs, quantity, destination and deadline. Ask for an illuminated sample review when campaign color consistency is critical. Review LED SEG Light Box and LED Snap Frame as appropriate.
For custom artwork or print dimensions, email BrandMate Display with your light box size, visible image area, graphic attachment and artwork requirements. Use the confirmed template for that configuration rather than a nominal frame size.