Address
Caochang Industrial Area, Liguang Rd, Lishui, Nanhai, Foshan, Guangdong, China
Phone:
0086-20-8938 9313
0086-757-8938 9313
Email:
Work Hours
Monday to Friday: 8AM - 10PM
24x7 online service

Address
Caochang Industrial Area, Liguang Rd, Lishui, Nanhai, Foshan, Guangdong, China
Phone:
0086-20-8938 9313
0086-757-8938 9313
Email:
Work Hours
Monday to Friday: 8AM - 10PM
24x7 online service
Custom LED Light Box & SEG Display Manufacturer
Plan export packing as a complete supported assembly: give long aluminum profiles a defined restraint and support layout, keep fragile light box faces separate from hard components, and verify the actual packed configuration against its handling route.
This guide helps display importers, project buyers and freight coordinators approve the packing of long sections and mixed light box components. The key decision is how the product sits inside the package and how that package will be handled. Ask BrandMate to review the selected product, component list and distribution route before agreeing the carton, support and protection arrangement.
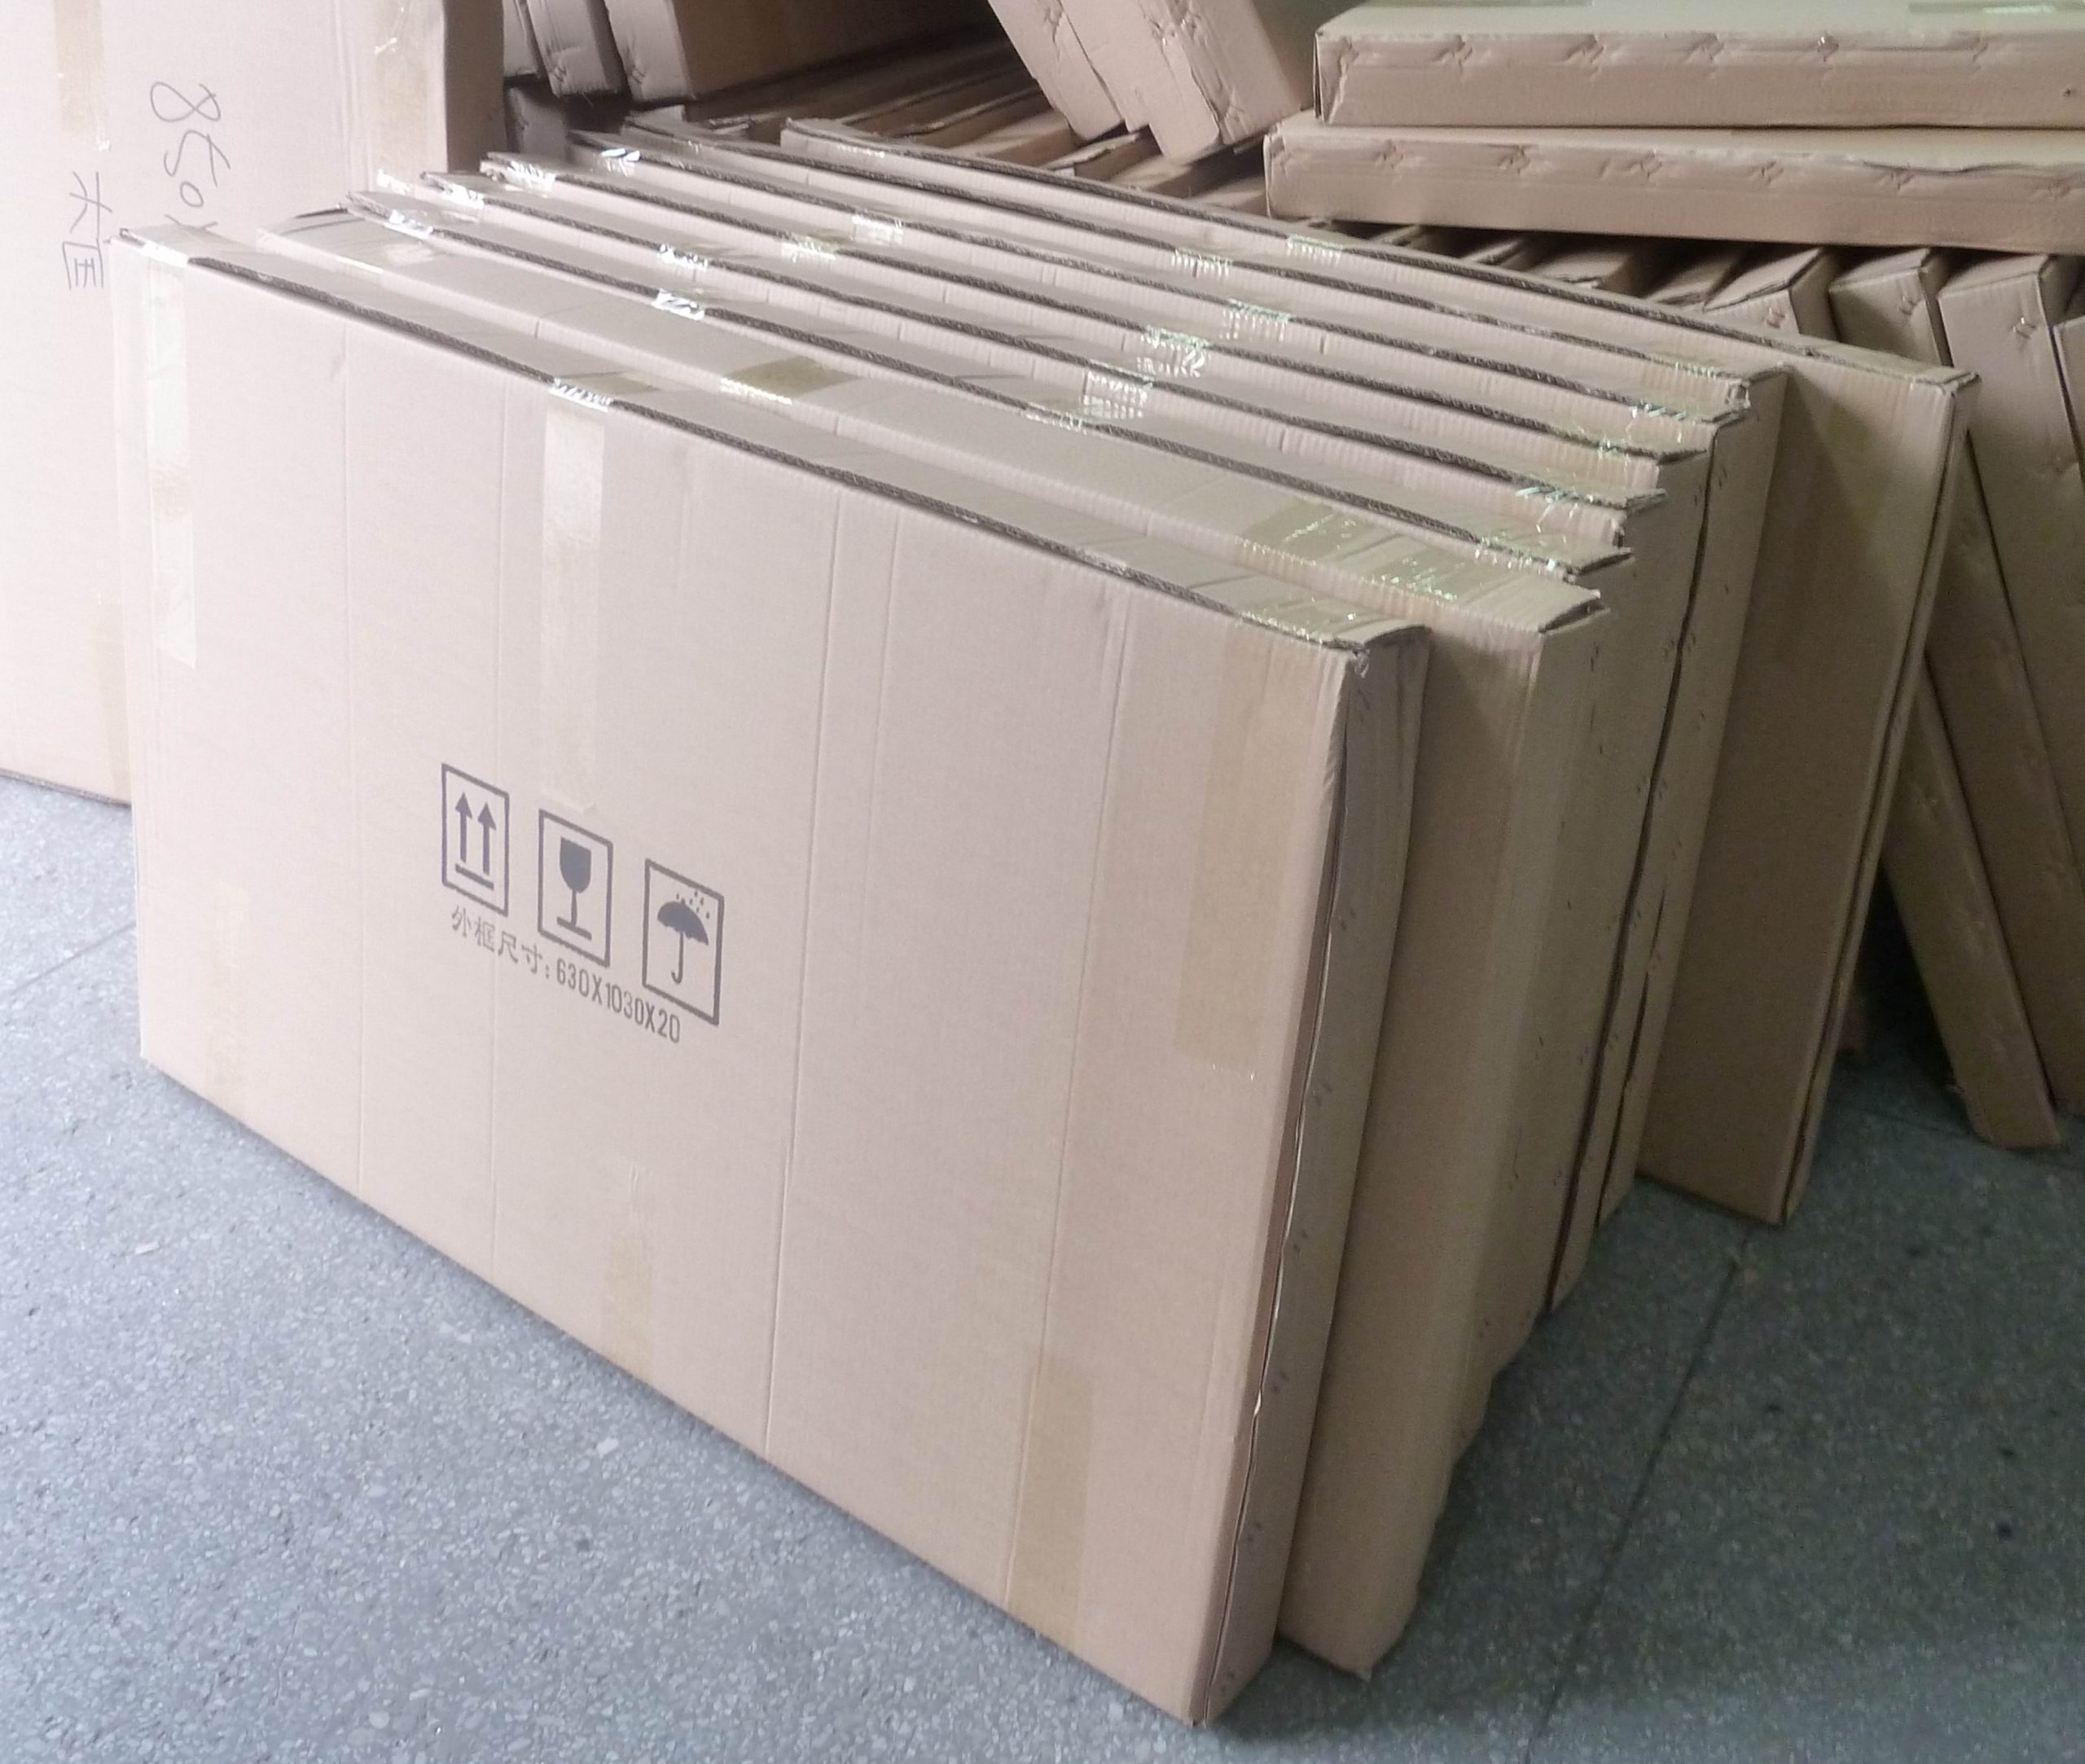
The photograph shows flat cartons arranged for packing. It illustrates an exterior packaging format; the contents, internal supports and transport performance must be confirmed for the actual order.
Identify whether the order travels as assembled light boxes, loose profiles, separate face panels or several coordinated packages. Record the model and drawing revision, quantity per package, longest loose component, sensitive surfaces and any heavy bases or accessories. Packed dimensions are a separate measurement from the finished display size.
For long profiles, request the actual section length and proposed usable internal box length, including room for end protection. Record units consistently. A carton’s outside length does not establish its clear internal space, and a folded frame drawing does not establish the longest part that will ship. Clarify the actual disassembly and reassembly scope for the selected system.
Map the shipment from dispatch through any consolidation warehouse, unloading, storage and final delivery. State whether packages are handled individually or as a unit load, and identify any expected forklift or manual handling. Give the freight team the measured outside dimensions, gross weight and package count so it can confirm the proposed service and handling constraints.
Keep the product specification and the route together in the packing brief. A sample sent directly to an office may follow a different path from a bulk shipment delivered through a warehouse. If the route or package grouping changes, have the responsible packing and logistics teams review the affected assumptions before dispatch.
Ask for a packing sketch that shows the long sections, support positions, end protection and restraints. Identify which surfaces may contact the supports and which finished faces need separation. A sleeve can prevent direct surface contact, but it does not by itself explain how an unsupported length is protected against bending.
Review how each section is prevented from sliding lengthwise, moving sideways or striking an end panel. Keep decorative faces and connection features clear of hard contact points as appropriate to the product. The packing designer should select the support and restraint arrangement for the actual section, length, mass and shipment; no universal support spacing or cushioning thickness is specified here.
For a group of profiles, show the layer order and separation between pieces. Check that the proposed bundling or restraint does not concentrate pressure on a visible face or a connection feature. Ask how the arrangement is retained when a handler lifts, turns or moves the closed package in the ways expected on the route.
Record the section condition, straightness and connector fit before the agreed packing assessment. Use the product’s approved drawing and acceptance criteria, then compare the same features after the assessment. If a section deforms or a connector no longer fits as approved, revise the support or restraint design and repeat the affected review before accepting the pack.
Give each component a place in the pack. A light box face, long metal section and heavy base do not need the same support or surface protection. Identify the actual face material and product arrangement; the word light box does not establish whether the face is acrylic, glass, textile or another specified construction.
| Component group | Interface to review | Evidence to request | Condition to resolve before acceptance |
|---|---|---|---|
| Long aluminum profiles | Support positions, end clearance, restraint and separation of finished surfaces. | Dimensioned layer sketch and labeled photographs of the actual sections in position. | An unsupported or movable section, hard contact at a sensitive feature, or changed connector fit. |
| Rigid light box faces | Face and edge support, clearance from heavy parts and protective-film requirements. | Identified panel construction and packing section showing its protected location. | Uncontrolled contact, concentrated pressure or support that does not match the selected panel. |
| Bases, brackets and electrical accessories | Independent restraint and separation from profiles, lenses and graphics. | Accessory compartment layout and count tied to the assembly list. | Loose hard parts, unidentified fittings or parts that can enter a fragile component’s space. |
| Printed textiles or other graphics | Approved roll/fold method, abrasion protection and storage conditions. | Material-specific packing and care instructions with the artwork/graphic reference. | A packing method that creases, marks or misidentifies the required graphic. |
Keep fasteners, connectors and adapters in identified bags or compartments matching the assembly list. Confirm how these are retained inside the package rather than leaving a hardware bag loose over a face panel. A complete parts count is part of the handover, even when the main structure arrives undamaged.
For rigid faces, review edge contact and the support across the panel with the product and packing team. Any protective film must be suitable for the actual surface and have clear removal instructions. Keep the film, cushioning and restraint arrangements identifiable instead of assuming that a thicker sheet or more wrapping settles the whole packing decision.
For textile graphics, follow the selected material’s packing and storage guidance. Confirm the appropriate protection against dirt, moisture and contact with hard components. Review expected storage and transit conditions when choosing any wrapping or moisture-control method; no single bag or desiccant arrangement is established for every shipment.

The second photograph shows a strapped carton with timber reinforcement. It does not establish the contents, load capacity, internal protection, treatment documentation or a passed handling test for another order.
Review the closed package as well as its interior. Identify the outer carton or other proposed container, package orientation and any external reinforcement. Ask how loads from handling and stacking are carried through the package. Exterior reinforcement and fragile labels do not replace an appropriate internal support and restraint layout.
If the shipment uses pallets or a larger unit load, show where the long packages are supported and how they are secured. Review the pallet dimensions, any projecting sections, handling access and proposed stacking with the logistics team. Do not assume that a familiar pallet size supports every long profile package or that strapping can compensate for an unsupported end.
Confirm which orientation, stacking and handling instructions belong on the labels and whether the chosen freight service can accommodate them. Keep the instructions consistent with the actual pack and the agreed transport plan. If timber is used, have the responsible logistics team confirm the applicable destination requirements for the actual timber packing, marking and documentation.
Compare proposed options on their complete packed basis: protection method, package dimensions and gross weight, number of pieces, handling arrangement and receiving needs. Ask BrandMate to confirm available packing options for the selected product. The objective is a justified package design; neither the smallest carton nor the heaviest crate is automatically the appropriate choice.
Approve a representative pack with the intended product quantity, component positions, separators, restraints, outer container and closure. Give the product and packing revisions a shared reference. Extra wrapping added only to a demonstration sample should not silently become evidence for a different bulk pack.
Agree with the responsible packaging specialist which handling assessment or test program suits the distribution route and the decision being made. A preliminary investigation and a formal qualification can have different purposes. Record the method, sequence, conditions, sample identity and acceptance criteria before interpreting a result; a generic drop-tested description is insufficient.
Plan both the package and product inspections. Where a formal procedure is used, follow its sequence and permitted inspection stages; do not change the package midway and treat that as the same completed assessment. Keep investigative unpacking or design changes clearly separated from the record used to accept the final configuration.
| Approval point | Record to retain | What the review establishes | Revision or recheck trigger |
|---|---|---|---|
| Packed configuration | Product/packing revision, quantities, internal sketch and layer photographs. | Which actual arrangement is being assessed and proposed for shipment. | A different section, face, base, quantity or internal layout. |
| Handling assessment | Selected method, sample, route assumptions, conditions and predetermined criteria. | The scope and limits of the documented assessment. | A changed route, container, restraint or unassessed handling condition. |
| Product condition and fit | Comparable before/after observations of profiles, connections, faces and parts count. | Whether the agreed product criteria were met by that assessed sample. | Deformation, contact marks, missing parts or an unresolved functional issue. |
| Dispatch and receipt | Package ID map, dimensions/weights, labels, unpacking instructions and receiving record. | How the receiver reconciles the shipment with the accepted pack. | Unidentified cartons, packing differences or arrival damage needing review. |
After the permitted unpacking stage, compare the product against its pre-assessment condition and approved criteria. Inspect long-profile straightness and connections, protected faces, hardware containment and package changes. Keep the observed findings and any corrections with the actual sample record. No BrandMate transport-test result or certification is asserted by this guide.
When a result does not meet the agreed criteria, identify the affected component and the relevant contact, movement or support issue. Have the responsible team revise the pack and define the next assessment. More foam, a new label or an unrelated successful shipment does not by itself demonstrate that the changed design meets the requirement.
Give the receiver a package map linking each carton or unit load to the product, component group and quantity. Include the profile or panel reference where several sizes look similar. Keep accessories, graphic revisions and any store or project allocation traceable so the crew can reconcile the kit without opening every package unnecessarily.
Provide an unpacking sequence appropriate to the arrangement, particularly where heavy parts could be lifted over a delicate face. Agree the receiving location, available handling equipment and any temporary storage needs before dispatch. Keep the relevant product handling and installation instructions with the shipment.
At receipt, record package identity and external condition, then inspect the contents in the agreed safe sequence. Photograph any damage and the surrounding supports before disposing of packing, using comparable views and clear item labels. Check the delivered parts against the map and report the exact exceptions through the agreed commercial process.
Keep a damaged or suspect electrical display out of service. Do not energize a unit with damaged wiring, a cracked enclosure or signs of moisture; have a qualified person assess it before any functional check. A receiving photograph and parts count are not permission to put damaged equipment into use.
Archive the accepted packing sketch, support and restraint details, layer photographs, quantities, package dimensions and weights, labels and relevant assessment record. Check that the bulk packing instruction describes that configuration. A repeat order should identify both the product revision and the packing revision.
Review changes to profile length, section, mass, fragile face, base or accessory grouping before reusing the pack. A changed carton, pallet, transport service or receiving arrangement can also change the handling assumptions. Have the responsible team identify which previous evidence still applies and what needs to be reviewed again.
Use actual receiving feedback to improve the next shipment. Retain specific observations such as a shifted profile, contact mark or missing fitting with its package reference. These are more useful for a packing correction than an unlabeled damage photograph or a general request for stronger packaging.
Send BrandMate the selected display, longest component, face construction, quantity and proposed route, plus any known receiving restrictions or damage history. Request an itemized packing proposal and the product-specific evidence you need. Start with BrandMate Warehouse & Logistics and discuss inspection through Quality Control. For a sectional illuminated display project, identify the actual configuration in the LED SEG light box range.
A sleeve mainly describes a surface barrier. Ask how the actual section is supported and restrained throughout its length, then check straightness and connector fit against the approved criteria after the agreed assessment.
Review the complete design, including internal support, separation, closure and handling route. Confirm applicable timber packing requirements separately. An exterior photograph does not establish transport performance or documentation for the proposed shipment.
Ask the responsible packing specialist to compare the old and new configurations and distribution assumptions. Record the relevance of the earlier evidence and agree what further review is needed; do not assume the same carton makes the record interchangeable.
Tell BrandMate about the display and where it will be used. Share drawings and detailed specifications during the project discussion.