Address
Caochang Industrial Area, Liguang Rd, Lishui, Nanhai, Foshan, Guangdong, China
Phone:
0086-20-8938 9313
0086-757-8938 9313
Email:
Work Hours
Monday to Friday: 8AM - 10PM
24x7 online service

Address
Caochang Industrial Area, Liguang Rd, Lishui, Nanhai, Foshan, Guangdong, China
Phone:
0086-20-8938 9313
0086-757-8938 9313
Email:
Work Hours
Monday to Friday: 8AM - 10PM
24x7 online service
Custom LED Light Box & SEG Display Manufacturer
Custom booth stand systems for exhibitions and brand events, combining backwalls, counters and modular display elements according to the booth plan.
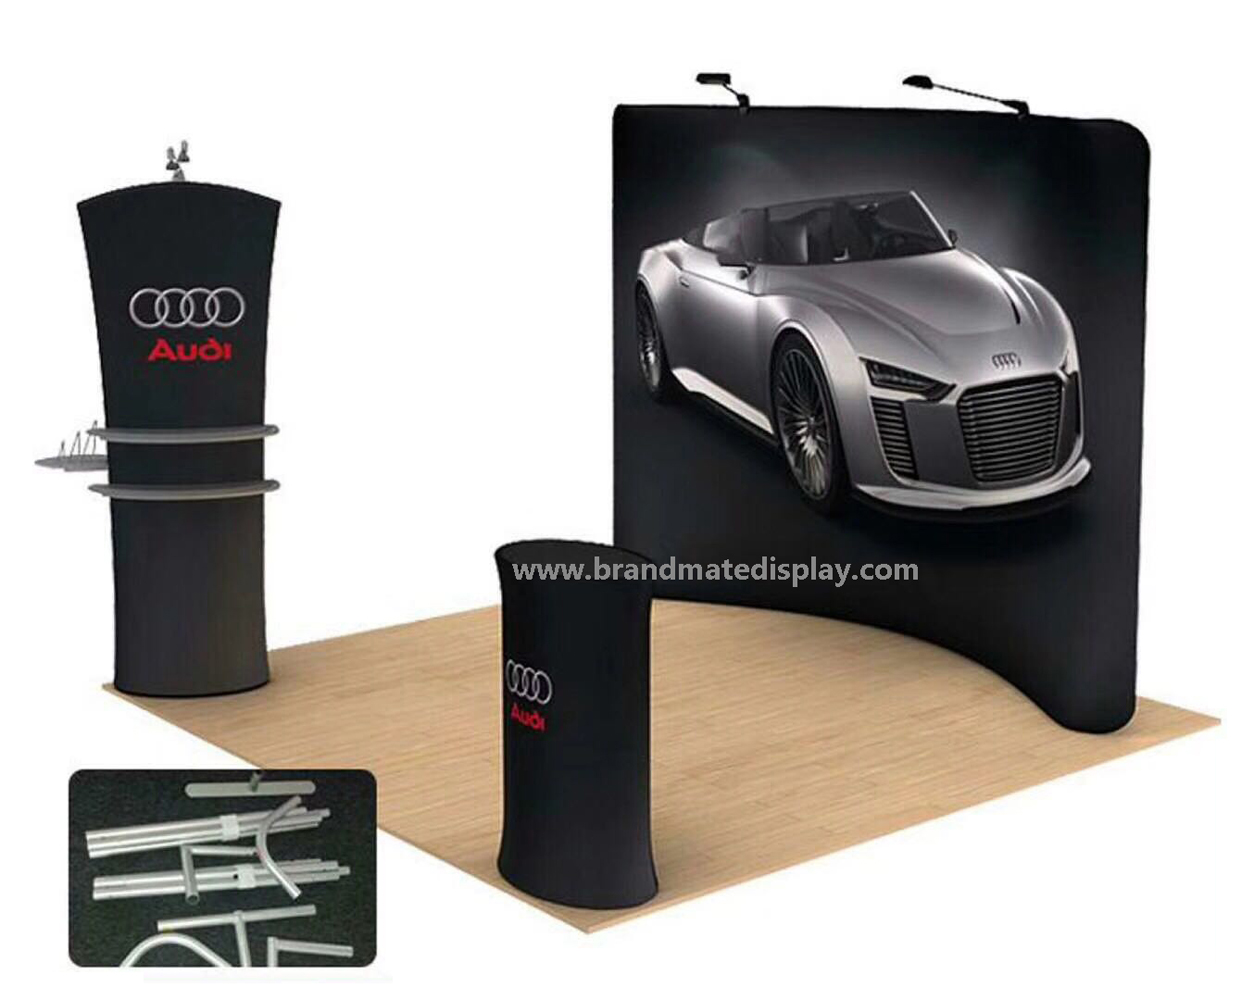
A booth stand is the hardware and graphic system that creates a defined exhibition space. It can be a simple backwall-and-counter kit or a more complete modular arrangement with multiple branded surfaces.
| Buyer decision | What to confirm |
|---|---|
| Layout | Open sides, entrances, wall lengths and counter position |
| Modules | Backwall, counter, side panel, vertical tower or light box |
| Assembly | Connection method, tools, crew and event labor |
| Graphics | Number of faces and replacement requirements |
| Reuse | Spare parts, packing and storage between events |
The booth should be planned as a set of repeatable modules. A clear layout identifies which component goes where, how graphics correspond to modules and how the system packs after the event.
Graphics should be tied to module IDs or positions. This matters when the booth uses several printed surfaces or when new campaign graphics are ordered for the same hardware later.
Ask whether the complete booth can be built by the exhibitor’s own team or whether venue labor is required. Installation drawings should show the assembly sequence and any electrical connections.
For repeat events, cases/cartons should be organized so the same module set can travel together. A packing list and part labels reduce the chance of leaving a critical connector or graphic behind.
Do not order modular booth stand from a front elevation alone. Provide booth footprint, entrances and walkable clearance, traffic clearance, maximum height and the parts that project beyond the printed graphic. Compare these dimensions with the actual booth plan.
The complete structure includes the frame, support, connectors and graphics. For a booth stand project, define the sequence to join base, walls and accessories, accessory quantities and whether components are interchangeable across units. Keep a version-controlled component list.
Confirm who views the installation from each direction. A single-sided layout may use a different graphic attachment or back finish from a double-sided layout. If both sides carry artwork, issue a face-labelled print schedule.
Agree the numbered backwall and counter artwork, finished visible area, seam and safe margins before printing. Store the approved artwork revision with its exact hardware model so the next campaign does not receive a mismatched replacement print.
Ask for a model-specific illustrated instruction starting with inventory, followed by sequence to join base, walls and accessories, graphic installation and a final stability/appearance check. Setup time should only be quoted when the crew size and tools are stated.
Review installer access, venue height and labor rules. “Tool-free” may apply to frame assembly but not necessarily to all hardware, lighting or venue work. Confirm local venue rules, rigging/electrical restrictions and safe access before sending staff to the event.
Identify graphic profile, module connectors and spare brackets. Keep a spare-part list, quantities and packaging labels, especially for recurring events. A replacement graphic or connector should reference the actual frame revision rather than a generic product name.
Inspect frame dimensions, joins and sequence to join base, walls and accessories, graphic fit, surface condition, all accessories, packed count and the available installation instructions. If electrical accessories are specified, perform power-on checks separately from mechanical assembly.
Choose protective packing by module and event location. Request packed length, width, height, gross weight, case count and freight handling constraints. Never infer shipping cost from the installed size or assume a carrying bag is suitable for repeated courier handling.
For repeatable portable booth programs, label every unit and printed graphic, preserve the folding/assembly instructions, dry and clean components according to their materials, and inspect connectors after each teardown. Maintain a replacement/repair record rather than repeatedly buying an entire kit.
| RFQ Field | Specify |
|---|---|
| Display format | Booth Stand and project drawing |
| Size and configuration | booth footprint, entrances and walkable clearance |
| Graphics | numbered backwall and counter artwork |
| Assembly | sequence to join base, walls and accessories |
| Accessories / spares | graphic profile, module connectors and spare brackets |
| Event | installer access, venue height and labor rules |
| Logistics | packing by module and event location |
| Commercial | Quantity, destination, artwork, deadline and repeat-use requirement |
Our booth-stand approach focuses on repeatability: defined modules, matching graphics, installation references and packing logic that can be reused across more than one event.
Yes. Send the booth footprint and preferred configuration for review.
Illuminated modules can be reviewed as part of the booth design when power and venue conditions allow.
Yes, where the existing hardware and graphic specification are confirmed.
Related: Tradeshow Display Manufacturer · Quality Control · Warehouse & Logistics
Compare the formats that buyers usually shortlist for the same project.
Send the display type, visible size, quantity and destination. We will reply within 2 hours. If your project is confidential, tell us at first contact and we will keep it under NDA.