Address
Caochang Industrial Area, Liguang Rd, Lishui, Nanhai, Foshan, Guangdong, China
Phone:
0086-20-8938 9313
0086-757-8938 9313
Email:
Work Hours
Monday to Friday: 8AM - 10PM
24x7 online service

Address
Caochang Industrial Area, Liguang Rd, Lishui, Nanhai, Foshan, Guangdong, China
Phone:
0086-20-8938 9313
0086-757-8938 9313
Email:
Work Hours
Monday to Friday: 8AM - 10PM
24x7 online service
Custom LED Light Box & SEG Display Manufacturer
This guide is for B2B buyers who need to specify an LED light box clearly before requesting a quote. A usable specification should define the frame, lighting, electrical system, graphic, installation, environment and packing—not just “size + quantity.”
| Group | What to specify | Why it matters |
|---|---|---|
| 1. Physical | Overall size, visible size, profile depth, frame material, finish, single/double sided | Controls fit, rigidity, appearance and shipping |
| 2. Graphic | SEG fabric, acrylic, poster, tension fabric, print method, replaceability | Controls fit, maintenance and campaign changes |
| 3. Optical | Lighting architecture, luminance/illuminance method, uniformity, CCT, CRI | Controls how the display actually looks |
| 4. Electrical | Input voltage, output voltage, total power, driver/PSU, plug or hard-wire | Controls compatibility and serviceability |
| 5. Installation | Wall, hanging, freestanding, projecting, mounting hardware, cable exit | Prevents site-installation surprises |
| 6. Environment | Indoor/outdoor, required IP, ambient exposure, service access | Prevents unsupported “weatherproof” assumptions |
| 7. Packing | Carton/case/crate, packed dimensions, net/gross weight, labeling | Controls freight, handling and rollout accuracy |
| 8. Commercial / Compliance | MOQ, sample, lead time, warranty scope, destination-specific documentation | Controls procurement risk and schedule |
Do not use one number for both. The overall size includes the frame; the visible size is the illuminated or viewable graphic area. For replacement graphics and built-in retail fixtures, the difference matters. Drawings should show both.
Profile depth influences lighting geometry, component clearance, rigidity, visual appearance and shipping. A shallower profile can be desirable for wall installations, but it should not be selected without checking the finished size and lighting architecture.
When comparing quotations, ask suppliers to state the actual extrusion/profile used for the quoted size rather than describing the unit only as “ultra-thin” or “slim.”
| Factor | Edge-lit | Direct / backlit |
|---|---|---|
| Typical design goal | Thinner profile where optical design allows | Direct rear illumination for suitable depths/sizes |
| Key engineering question | Can the light-guide / edge system maintain acceptable uniformity at this size? | Is LED spacing and frame depth sufficient to avoid visible hotspots? |
| Service question | How are LEDs/light guide/power components accessed? | Can LED modules and driver be serviced after installation? |
| Buyer action | Compare actual test method, not just “super bright” claims | Confirm depth, LED layout and visual acceptance criteria |
Suppliers may use the word “brightness” for different measurements. Technically, luminance is normally expressed in cd/m² (nits) and describes light coming from a surface, while illuminance is expressed in lux and describes light arriving at a surface. If a quotation gives a number, ask what instrument, distance or test grid was used.
For purchasing, the most important question is often not the highest number—it is whether the finished graphic has an acceptable and repeatable appearance for the application.
“Even lighting” is too vague for a technical specification. A buyer can ask how uniformity is checked: number of measurement points, center vs edge readings, minimum/average or minimum/maximum ratio, and whether the final printed graphic is installed during the visual inspection.
CCT (correlated color temperature) describes whether the white light appears warmer or cooler and is expressed in Kelvin. CRI (color rendering index) indicates how naturally colors are rendered under the light source. Retail brands may care about these because the same printed graphic can look different under different white points.
Do not assume a default CCT/CRI is suitable for every project. If visual consistency matters, write the required value or acceptable tolerance into the specification and confirm the supplier can document it for the quoted configuration.
LED spacing, frame depth and diffuser/graphic distance work together. Tight spacing may improve visual smoothness but can increase component count and power. Large spacing can reduce cost but may increase hotspot risk if the system is too shallow.
For custom engineering, ask how LEDs are fixed to the structure, how heat is transferred away from the modules and how a failed module can be accessed. These questions are more useful than a generic “long life LED” statement.
A technical quotation should state the input voltage, driver/output voltage where relevant, total power for the finished unit, and how the power supply is installed. For large systems, also confirm whether multiple drivers/circuits are used.
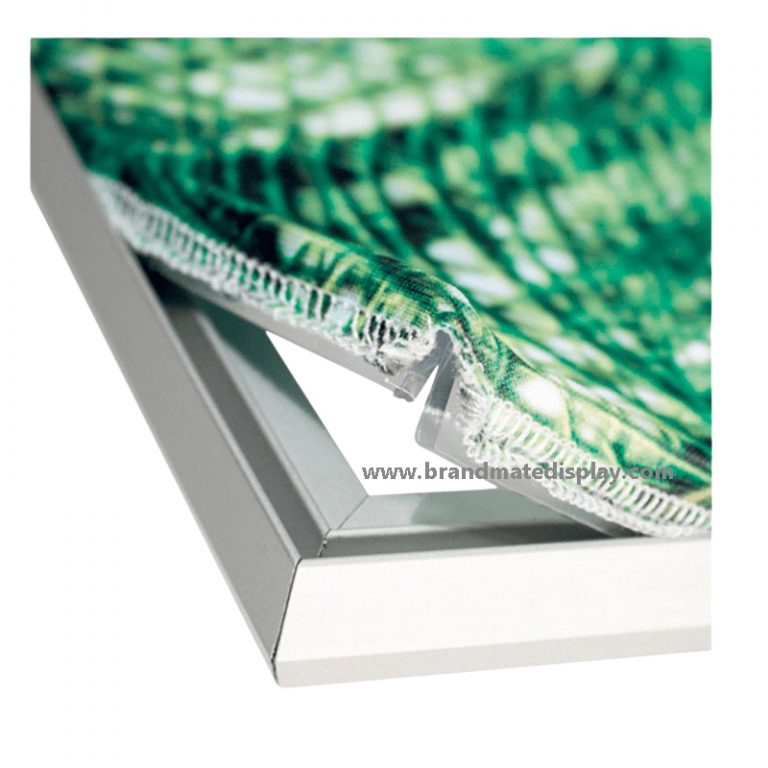
The graphic specification should match the frame. For SEG systems, confirm the artwork template, finished fabric size and silicone edge. For acrylic or poster systems, define the face material/thickness and how the graphic is loaded or replaced.
Double-sided construction changes the frame, lighting, power and often the mounting method. A freestanding or hanging double-sided system should be specified from the beginning; it is not simply a second graphic added to a single-sided box.
Do not treat “outdoor” as a marketing adjective. Define whether the installation is fully exposed, sheltered or semi-exposed, and state the required IP rating if the project has one. The exact enclosure, cable entry, drainage, face material, coating and driver protection should be reviewed for the quoted SKU.
For international B2B orders, freight can change the economics of a light box project. Ask for packed length, width, height and gross weight—not just net product weight. Large systems may be split into sections to reduce transport length.
CE, UL, ETL, FCC, RoHS or other documentation should never be assumed across an entire website. Tell the supplier which market and project standard applies, then verify which document belongs to the exact driver, electrical system or finished product being quoted.
| Product type | SEG / snap frame / acrylic / magnetic / outdoor / trade show / other |
|---|---|
| Overall size | W × H × D |
| Quantity | Units per size / per location |
| Viewing | Single or double sided |
| Installation | Wall / hanging / freestanding / projecting / built-in |
| Environment | Indoor / sheltered outdoor / fully exposed |
| Optical requirement | CCT / CRI / brightness-uniformity requirement if specified |
| Electrical | Country, voltage, plug or hard-wire |
| Graphics | Artwork ready? replacement graphics needed? |
| Destination | Country / city / warehouse |
| Deadline | Sample date / production delivery / event date |
| Compliance | Required documents / standards |
For custom projects, the objective is to turn the buyer’s brief into a clear production basis. We review the dimensions, frame system, lighting, graphic, electrical configuration, installation and packing before the order is released. When a value is not yet confirmed, it should remain an open project requirement rather than being replaced by an unsupported generic claim.
If your project is not fully specified yet, send the information you already have. We can identify the missing decisions before quotation instead of guessing them.