Address
Caochang Industrial Area, Liguang Rd, Lishui, Nanhai, Foshan, Guangdong, China
Phone:
0086-20-8938 9313
0086-757-8938 9313
Email:
Work Hours
Monday to Friday: 8AM - 10PM
24x7 online service

Address
Caochang Industrial Area, Liguang Rd, Lishui, Nanhai, Foshan, Guangdong, China
Phone:
0086-20-8938 9313
0086-757-8938 9313
Email:
Work Hours
Monday to Friday: 8AM - 10PM
24x7 online service
Custom LED Light Box & SEG Display Manufacturer
Approve acrylic light box protection on the actual finished surface. Identify the sheet, coating and printed areas, check the proposed film and separators on a representative sample, and compare the same faces before packing and after unpacking. Retain the accepted materials and removal instructions with the packing revision so the receiving team can repeat the approved method.
This guide helps display distributors, retail rollout buyers and packing coordinators turn a cosmetic requirement into a usable surface-protection record. The decision is which materials may touch the finished acrylic, how they are removed and how a new mark is reviewed. Begin with an identified display configuration and agree the visible-condition criteria before ordering the packing materials.
Ask BrandMate to identify the offered acrylic sheet, any coating, printed layer, exposed border and decorative face. Mark the front, rear, edges and fixing locations on a photograph or drawing. Keep the product revision and finish reference together; a clear sheet, a printed face and a coated surface can require different contact-material instructions.
Agree the viewing conditions used to accept cosmetic appearance: the visible areas, normal installed view, lighting, background and any additional oblique inspection. Retain a reference sample or identified photographs showing the accepted starting condition. The commercial appearance criterion and a close inspection used to investigate a mark serve different purposes; record how each finding will be judged.
Photograph each named face before protection is applied, with enough context to locate a close-up. Note any existing marks instead of treating every later observation as shipping damage. Ask the responsible reviewer to define the sample quantity and acceptance decision for the project; this guide supplies no universal scratch allowance or statistical sampling level.

Use the separate acrylic crystal display finish and sample guide to establish the finished appearance. Carry that approved reference into the protection review rather than judging packing against an unrelated showroom sample.
Identify what is already on the sheet and what the packing team proposes to add. Record the film or interleaf product reference, supplier identification, lot where available, contact side and intended use. The original sheet masking and an added transport wrap are separate items. A familiar color or a similar-looking roll does not identify the adhesive or its suitability for the finished assembly.
Obtain the applicable material instructions for the actual substrate, coating, print and adhesive. Confirm the application and removal method, storage conditions and permitted contact duration with the responsible suppliers. Packing materials can be incompatible with acrylic; heat, sunlight or prolonged storage may also affect masking removal. Use a representative trial to check the proposed combination rather than declaring every protective film suitable.
Have the responsible team select a trial sample and conditions reflecting the planned packing-to-installation interval. Include the actual finished face and the intended film, separator and contact arrangement. Record application date, removal date, storage conditions and any departures from the plan. A trial on an unprinted offcut can help screen a material, but record which coating, print or assembled detail still needs confirmation.
Inspect after removal under the agreed conditions. Record adhesive residue, haze, lifted print or coating, impressions and any new surface marks, including observations that remain uncertain. Keep an unsuitable or unidentified material out of the released packing instruction until the responsible reviewer approves a correction and the affected check is repeated. Do not turn a short successful trial into an unlimited storage claim.
| Record item | Identify before the trial | Evidence to retain | Release decision |
|---|---|---|---|
| Finished surface | Display revision, sheet, coating/print and named face or border | Accepted finish reference and located baseline photographs | Confirm that the trial represents the surface to be packed. |
| Contact materials | Film, interleaf, sleeve and any adhesive contact, with references | Material instructions, contact-side map and available lot identity | Resolve unidentified or unsupported material combinations. |
| Contact conditions | Application, planned storage/contact interval and packing arrangement | Dated trial plan, actual conditions and recorded deviations | State the assessed scope and any condition still awaiting review. |
| Removal method | Who removes each layer, at which stage and under which instructions | Observed unpack/removal sequence and before/after views | Approve a repeatable method without new unacceptable marks or residue. |
| Cosmetic comparison | Visible areas, reference, lighting and agreed decision criteria | Located observations with matching views and reviewer decision | Accept, correct and repeat, or keep the affected issue open. |
| Bulk handover | Accepted materials, quantities/positions and product/packing revision | Issued instruction, identified first packing and receiving feedback | Flag substitutions or configuration changes for review. |
Draw the layer order and identify every item that could touch a visible face: interleaf, sleeve seam, carton edge, support, cable, bracket or accessory bag. Mark which side of each protection layer faces the acrylic. Ask how the arrangement stays in place through the intended handling; a separator that slides away leaves a different interface from the approved sketch.
Keep contact materials clean during preparation. Grit trapped between sheets can damage a surface even beneath masking. Inspect the work area, separator and protected face at the agreed packing stage, and record contamination found before closure. Replacing a dirty separator is more useful than adding another layer over the same particle.
Keep hard accessories in identified, retained compartments that cannot enter the protected face area. Show where fixings and cable ends sit when the package is closed. Check sleeve seams, labels, tape and folds for direct contact with the cosmetic face; obtain approval for any adhesive that touches the finished surface rather than assuming the outer-carton tape is suitable.
For multiple panels in one carton, show the actual quantity, interleaving order and restraint arrangement. A material trial checks the contact combination; the completed pack must also be reviewed for movement and concentrated contact. Send support, bending, corner-impact and route-assessment questions through the wider export packing approval process so the surface record remains linked to the complete package design.
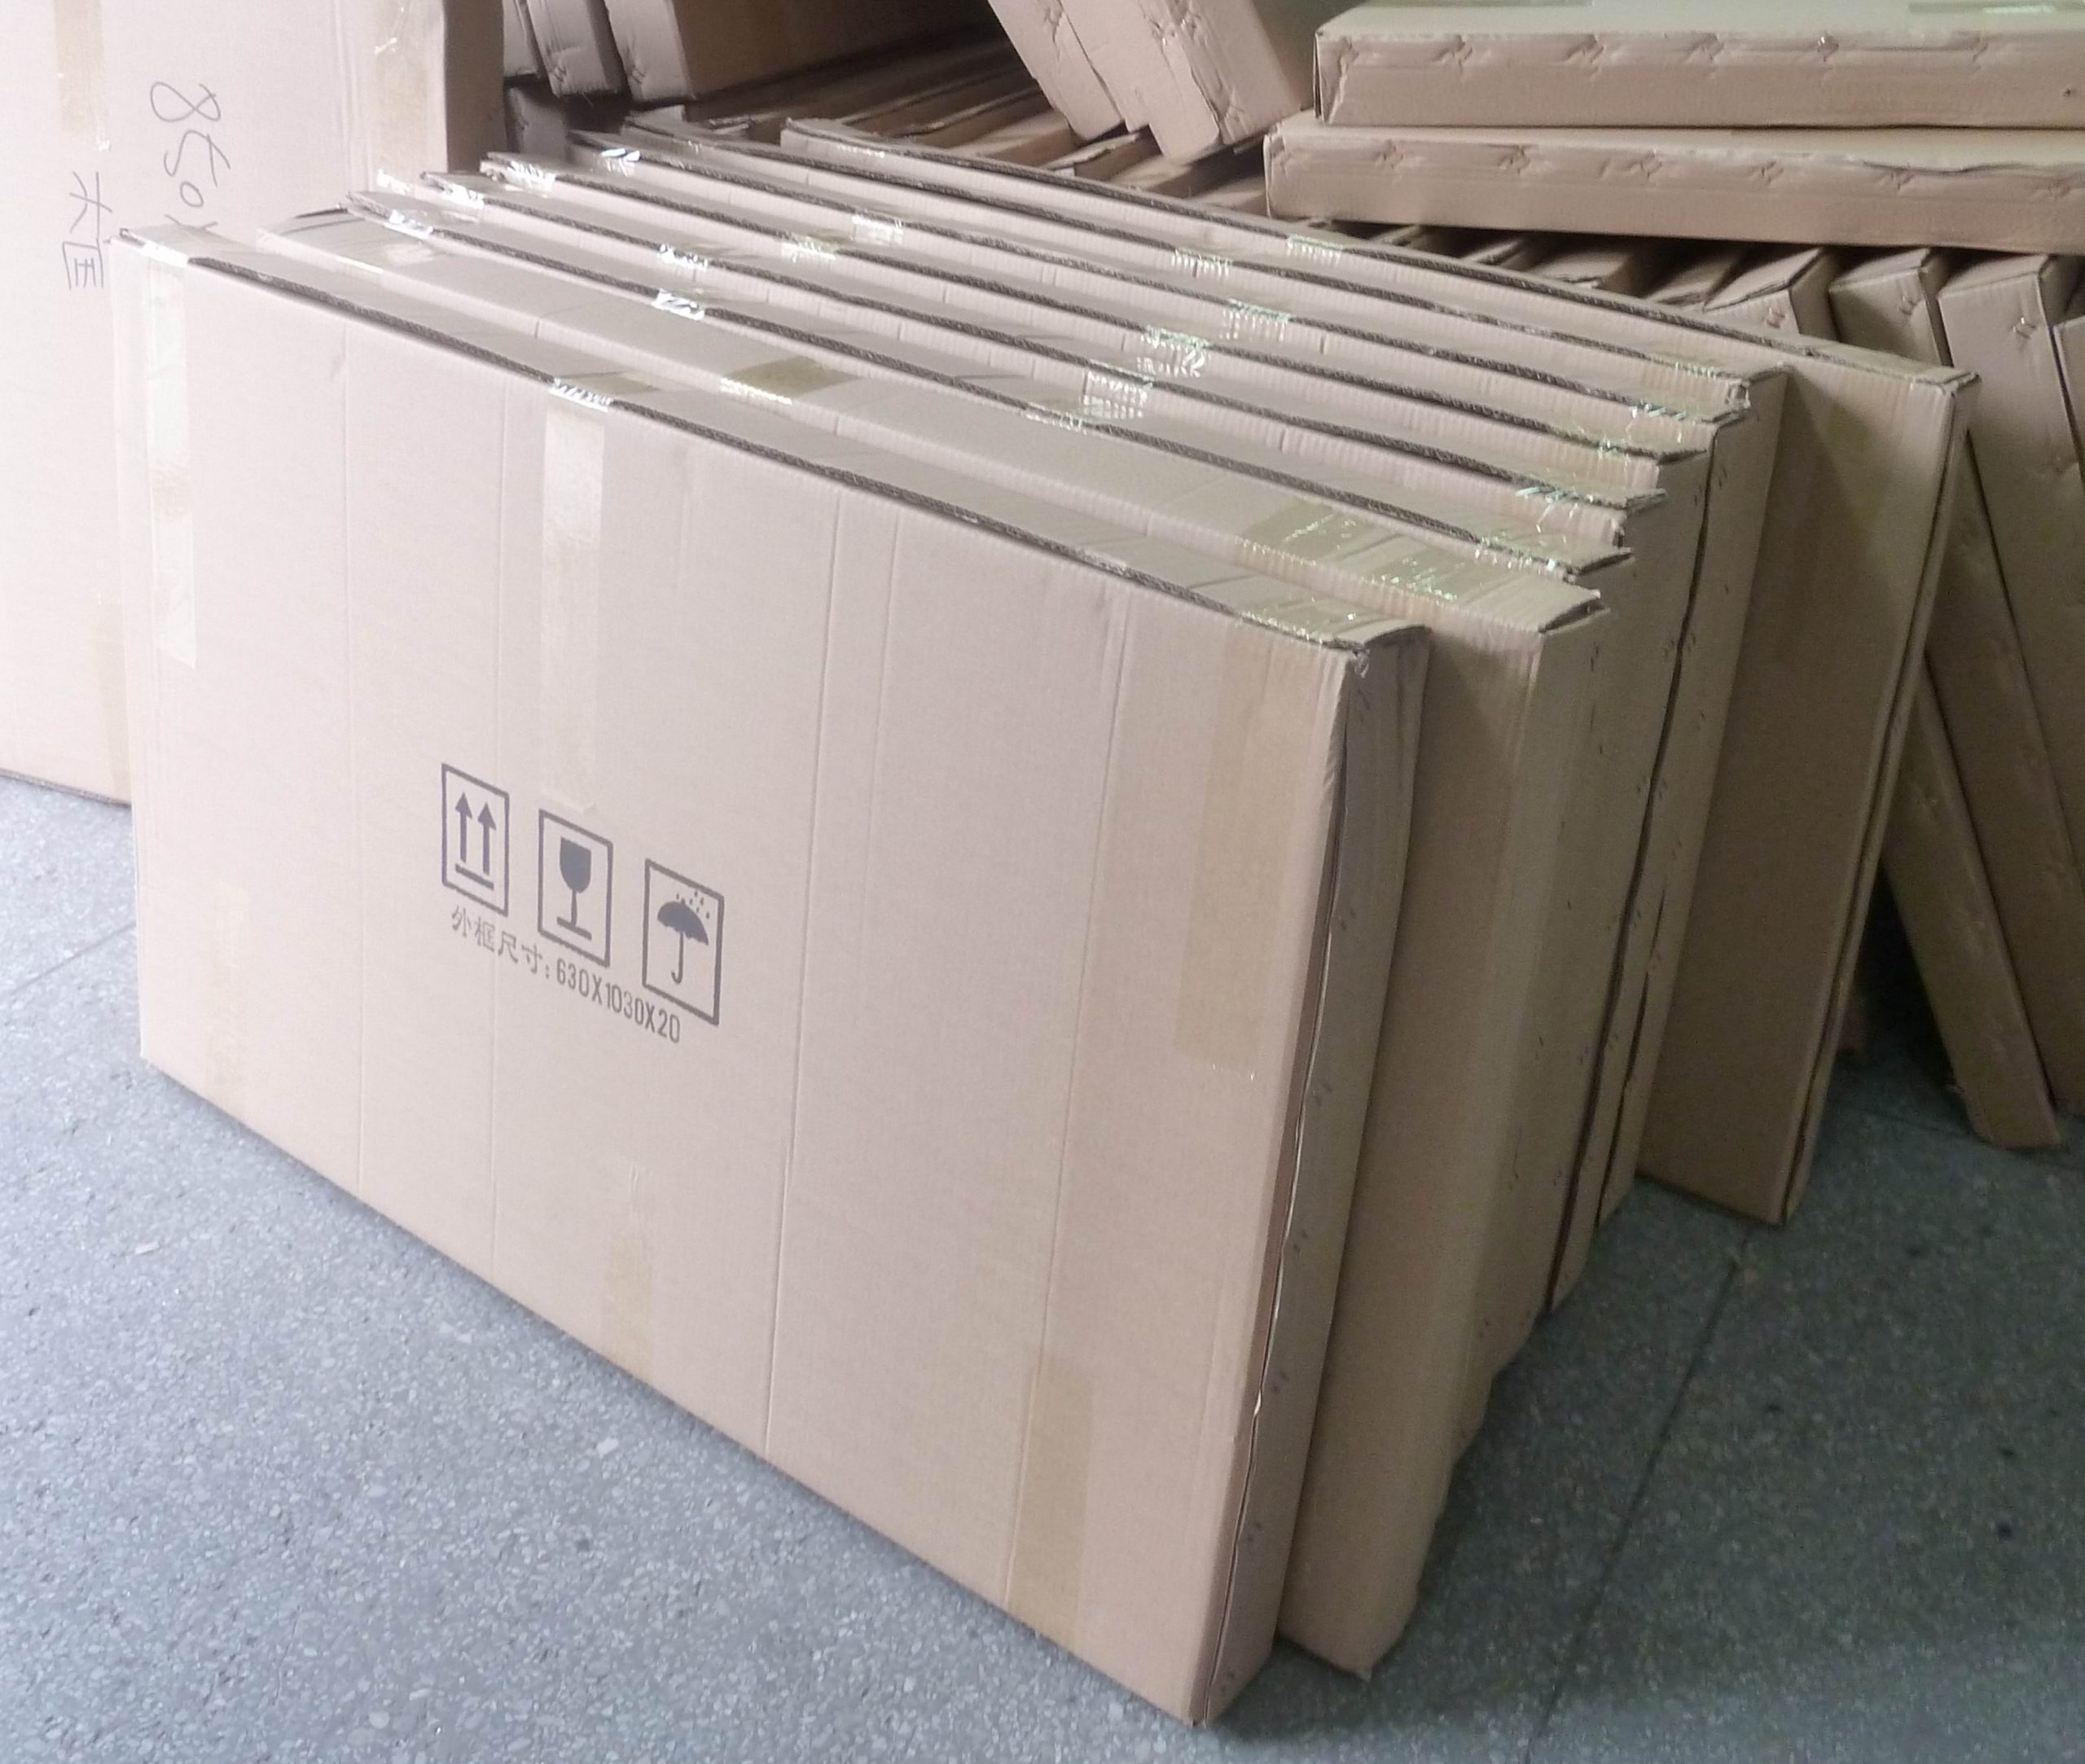
Use the proposed packed configuration and the intended receiving arrangement. Give each protective layer an identifier and opening direction. Ask the packing team to show how the receiver reaches the product without drawing a blade across an exposed face or lifting loose hard parts over it. Agree safe support, handling equipment and staffing for the actual size and mass.
Photograph the intact exterior, then each layer at the planned inspection stages before it is removed. Preserve the orientation and package identity in the record. If a formal transport assessment is also planned, follow its approved inspection sequence; an investigative trial opened midway is a different record from a completed qualification.
Remove masking only at the agreed stage and by the approved method. Support the panel and observe whether a layer drags, sheds particles, leaves residue or catches a fixing. Stop if removal becomes difficult or begins to alter the finish, and ask for the material-specific remedy. Do not improvise with a blade, heat or an unapproved solvent on the completed display.
For any authorized illuminated comparison, follow the model’s operating and electrical instructions after the unit has been inspected. Keep damaged, wet or suspect equipment out of service for qualified assessment. A surface check does not require opening an electrical enclosure or applying cleaning liquid near electrical parts.
Compare the unpacked sample with its own baseline and the retained acceptance reference under the agreed light and views. Mark the location, extent and appearance of each observation. Keep an overall image and a close view together; a close photograph without orientation can make an old edge mark look like a new face defect.
Separate observation from explanation. A wipeable deposit, a line visible after film removal and a mark beside a fixing need different follow-up. Request the approved cleaning method for the actual surface before trying to distinguish removable contamination from permanent damage. Avoid dry rubbing, abrasives and unapproved cleaners; do not polish away the evidence during receiving inspection.
| Observation | Records to compare | Next review | Evidence before closure |
|---|---|---|---|
| Residue or haze after removal | Baseline, film identity, contact interval, conditions and removal record | Material owner confirms compatibility and a permitted assessment/remedy. | Reviewed surface condition and a repeated affected material/removal trial. |
| New line or scuff | Located before/after views, contact map, separator condition and unpacking sequence | Packing owner investigates contact, contamination or movement without assuming one cause. | Identified correction and comparable views after the revised trial. |
| Impression or local mark | Support, seam, fixing and accessory positions at that location | Product and packing reviewers assess the contact arrangement and finish. | Approved revised interface and repeated condition check. |
| Print or coating changes | Finished-layer reference, contacted area and removed material | Refer the actual finish/material combination for technical review. | Corrected representative finished sample and documented release decision. |
| Crack, chip or suspect electrical damage | Package identity, surrounding protection and safe condition photographs | Hold the affected unit for product/packing assessment and appropriate qualified review. | Approved correction and required checks; do not put a suspect unit into use. |
| Finding cannot be classified | Original evidence, viewing conditions and permitted cleaning history | Keep the issue open and obtain the responsible reviewer’s decision. | Traceable disposition rather than an assumed pass or damage attribution. |
Assign each open finding a sample and package reference, responsible reviewer, requested evidence and next action. Retain the original condition record when a replacement or rework is proposed. Repeat the affected comparison after correction, and record whether the material, contact arrangement or handling method changed.
For example, a trial may show a clean face before protection and a local mark after unpacking near a sleeve seam. Record the seam position and actual contact conditions, then review and repeat the revised arrangement. This is an illustrative investigation sequence, not a reported BrandMate shipment or a diagnosis that every similar mark has the same cause.
Issue one packing instruction linking the display revision, finish reference, accepted contact materials, layer order, accessory locations and unpacking/removal method. Attach the trial evidence and its limits. Have the responsible team check that the production materials match the approved references and record substitutions before they are used.
Agree the outgoing and receiving inspection plan, including who checks the relevant faces and how the findings are recorded. Link the packing date, package identifiers and available material-lot references to the shipment. A sample approval establishes the assessed sample and method; it does not document the condition of every later unit.
Give the receiving team the same opening sequence, film-removal instructions, condition reference and reporting contact. Keep affected protection and packaging until the agreed review process permits disposal. Where a commercial damage enquiry is needed, follow the actual purchasing and transport arrangements; this guide sets no universal reporting deadline or compensation entitlement.
For repeat orders, review a changed sheet, coating, printed finish, film, interleaf, contact period, carton grouping or handling arrangement. Identify which earlier evidence still applies and which checks must repeat. This keeps an accepted protection method reproducible instead of treating a repeated product name as approval for every material substitution.
Share the display format and size, named visible surfaces, finish reference, quantity, destination and expected time between packing and installation. Include any required coating or print, proposed contact materials and the receiving team’s opening constraints. Request the offered material identities, sample protection arrangement and the evidence needed to close the surface-approval decision.
Explore the BrandMate LED Crystal Display family, discuss inspection through Quality Control and coordinate the package record through Warehouse & Logistics. Confirm available materials, packing options, sample arrangements and commercial timing for the actual project.
Approve the actual surface, film, separators and handling method together. Film is one contact layer; its presence does not establish compatibility or protect every edge and exposed detail.
Identify what changed and ask the responsible material reviewer which compatibility and removal checks must repeat. Keep the revised finish and film references with the new approval.
Obtain the instructions for the actual masking and finished assembly, including storage and removal conditions. Confirm the planned contact interval in the trial; no universal duration is supplied here.
Record the condition and obtain the approved assessment method first. Keep the original evidence and refer an uncertain mark for review before applying a cleaner or changing the surface.
Discuss acrylic surface protection on WhatsApp or email the finish and packing brief to BrandMate.
Tell BrandMate about the display and where it will be used. Share drawings and detailed specifications during the project discussion.